If you’re encountering software issues, experiencing frequent crashes after an update, or planning to jailbreak your iPhone, putting it into DFU (Device Firmware Update) mode is the key.
Despite iPhones offering a robust software experience, they aren’t immune to bugs and issues, particularly when new updates are installed.
DFU mode enables you to address these problems effectively and even downgrade to a previous iOS version if needed.
In this comprehensive guide, we’ll delve into the benefits of DFU mode and provide step-by-step instructions for putting your iPhone into DFU mode, applicable to all iPhone models.
What is DFU mode on an iPhone?
Table of Contents
DFU mode, or Device Firmware Update mode, is a powerful feature available on Apple mobile devices such as iPhones, iPads, and iPods.
It allows users to enter a recovery mode for making low-level software changes that go beyond the regular recovery mode. DFU mode is particularly useful for downgrading iOS versions, performing jailbreaks, software recoveries, and other advanced functions.
Unlike regular recovery mode, DFU mode powers on the iPhone without booting it into the operating system. This unique capability enables users to modify iOS even before it fully loads, granting greater control over the device’s firmware.
By putting your iPhone into DFU mode, you can establish a connection with iTunes and unlock a range of functionalities. These include device restoration, iOS downgrades, jailbreaking, and more.
However, it’s crucial to exercise caution when performing such actions, as they can potentially lead to the loss of files, void warranties, or even brick your iPhone in extreme cases.
While the process of entering DFU mode is generally safe, it may require multiple attempts for successful execution. It’s essential to carefully read and follow the instructions provided in this guide.
Also, understanding the associated risks is crucial before attempting to access DFU mode and modify your iPhone’s firmware.
Step-by-Step Guide: How to put iPhone into DFU Mode
Put iPhones with Face ID into DFU mode (iPhone X and Later)
If you own an iPhone with Face ID, you may need to put it into DFU (Device Firmware Update) mode for various reasons. Follow these step-by-step instructions to successfully enter DFU mode on your iPhone.

Step 1: Switch off your iPhone by pressing and holding the Side button until the Power Off slider appears. Drag the slider to power off your iPhone.
Step 2: Connect your iPhone to a Mac or PC using a Lightning cable.
Step 3: Ensure that iTunes is running on older Macs (Mojave and before) and PCs, or Finder is running on newer Macs (Catalina and later).
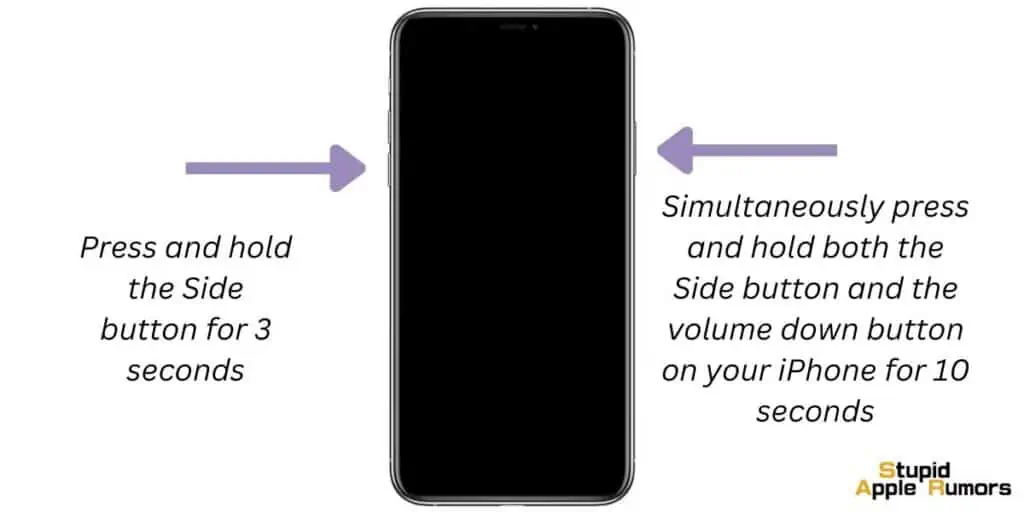
Step 4: Press and hold the Side button for 3 seconds. Then, simultaneously press and hold both the Side button and the volume down button on your iPhone for 10 seconds.
Note: If you see the Apple logo after 10 seconds, you’ll need to try again. Continue to the next step only if you don’t see the Apple logo.
Step 5: Release the Side button, but continue holding the volume down button for another 5 seconds.
If you see the “Plug into iTunes” screen, you need to start over. Getting the timing right may require multiple attempts.
Step 6: If the screen remains black but appears illuminated, your iPhone has successfully entered DFU mode.
Your Mac or PC should detect your iPhone, allowing you to restore it. DFU mode provides additional capabilities, such as downgrading iOS firmware, which cannot be done in the standard recovery mode.
Put iPhone 8, and iPhone SE (2nd and 3rd Gen) into DFU mode
Both the iPhone 8 and SE (2nd Gen) have the same button combinations, so they share the same steps to put them into DFU mode. If you own an iPhone 8 or SE (2nd Gen), follow the steps below to put it into DFU mode.

Step 1: Start by switching off your iPhone. Press and hold the Side button until the Power Off slider appears. Slide the slider to power off your iPhone.
Step 2: Connect your iPhone to a Mac or PC using the Lightning cable.
Step 3: For older Macs (Mojave and before) and PCs, ensure that iTunes is running. On newer Macs (Catalina and later), make sure Finder is running.
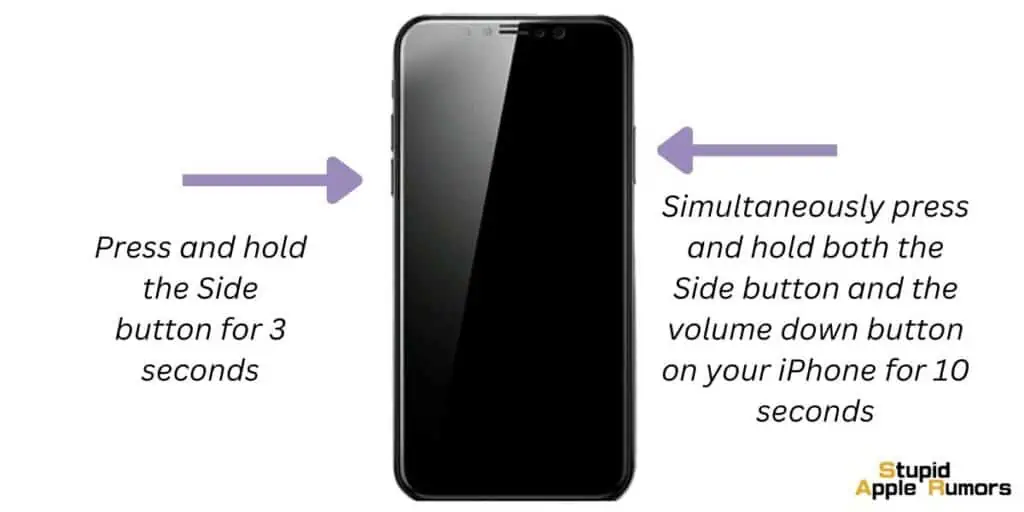
Step 4: Press and hold the Side button for 3 seconds.
Step 5: Now, simultaneously press and hold both the Side button and the volume down button for 10 seconds.
Note: If the Apple logo appears after 10 seconds, you’ll need to try again. Only proceed to the next step if you don’t see the Apple logo.
Step 6: Release the Side button, but continue holding the volume down button for an additional 5 seconds.
If the “Plug into iTunes” screen appears, you’ll need to start over. Getting the timing right may require multiple attempts.
Step 7: If the screen remains black but appears to be on, your iPhone has successfully entered DFU mode.
Your Mac or PC should detect your iPhone, enabling you to restore it. DFU mode offers additional functionalities, including the ability to downgrade iOS firmware, which is not possible in the standard recovery mode.
Put iPhone 7 and 7 Plus into DFU mode
If you own an iPhone 7 or iPhone 7 Plus and need to put it into DFU (Device Firmware Update) mode, follow these instructions carefully:
Step 1: Begin by switching off your iPhone. Press and hold the Side button until the Power Off slider appears. Slide the slider to power off your iPhone.

Step 2: Connect your iPhone 7 or 7 Plus to a Mac or PC using the Lightning cable.
Step 3: Ensure that iTunes is running on older Macs (Mojave and before) and PCs. If you’re using a newer Mac (Catalina and later), make sure Finder is running.
Step 4: Press and hold the Side button for 3 seconds.
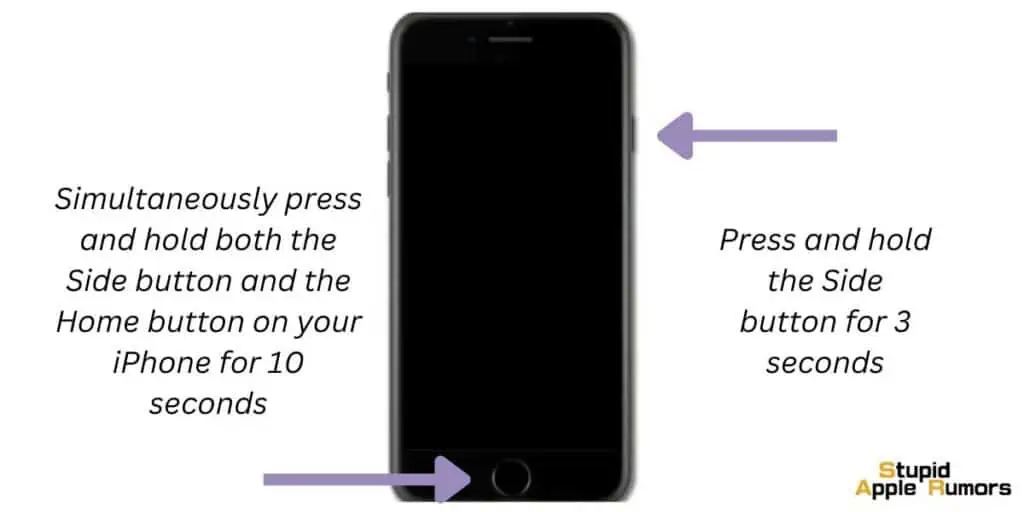
Step 5: While continuing to hold the Side button, simultaneously press and hold the Home button located on the front of your device.
Step 6: Keep holding both buttons for 10 seconds. If your iPhone displays the Apple logo during this time, you’ll need to repeat the process. However, if the screen remains on and then turns black, it indicates that your iPhone 7 or 7 Plus has entered DFU mode successfully.
Your Mac or PC should detect your iPhone, enabling you to restore it. DFU mode offers additional capabilities, such as downgrading iOS firmware, which is not possible in the standard recovery mode.
Put iPhone 6s and Earlier Models into DFU mode
If you have an iPhone 6s or an older model and need to put it into DFU (Device Firmware Update) mode, follow these step-by-step instructions:
Step 1: Begin by switching off your iPhone. Press and hold the top button until the Power Off slider appears. Slide the slider to power off your iPhone.

Step 2: Connect your iPhone to a Mac or PC using a Lightning cable.
Step 3: Keep iTunes running on older Macs (Mojave and before) and PCs. If you’re using a newer Mac (Catalina and later), make sure Finder is running.
Step 4: Press and hold the top button (also known as the power button) for 3 seconds.
Step 5: Simultaneously, press and hold the Home button located on the front of your iPhone.
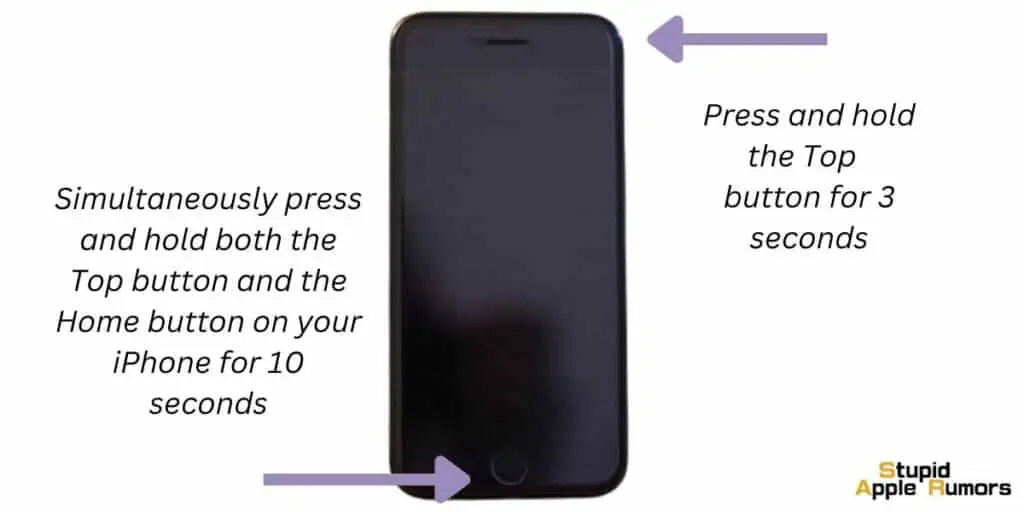
Step 6: Continue holding both buttons for 10 seconds. If your iPhone displays the Apple logo during this time, you’ll need to repeat the process. However, if the screen remains black but illuminated, you can proceed.
Step 7: After 10 seconds, release the top button but continue holding the Home button for an additional 5 seconds.
If your iPhone displays the message “Plug into iTunes,” you’ll need to repeat the process. However, if the screen remains illuminated but black, it means your iPhone is now in DFU mode.
Your Mac or PC should detect your iPhone in DFU mode, allowing you to restore it. DFU mode provides additional functionality, including the ability to downgrade iOS firmware, which is not possible in the standard recovery mode.
How To Exit DFU Mode
Exiting DFU (Device Firmware Update) mode properly is crucial to avoid any potential problems. If you have an iPhone with Face ID or a Home button, follow the steps below to safely exit DFU mode:
For iPhones with Face ID:
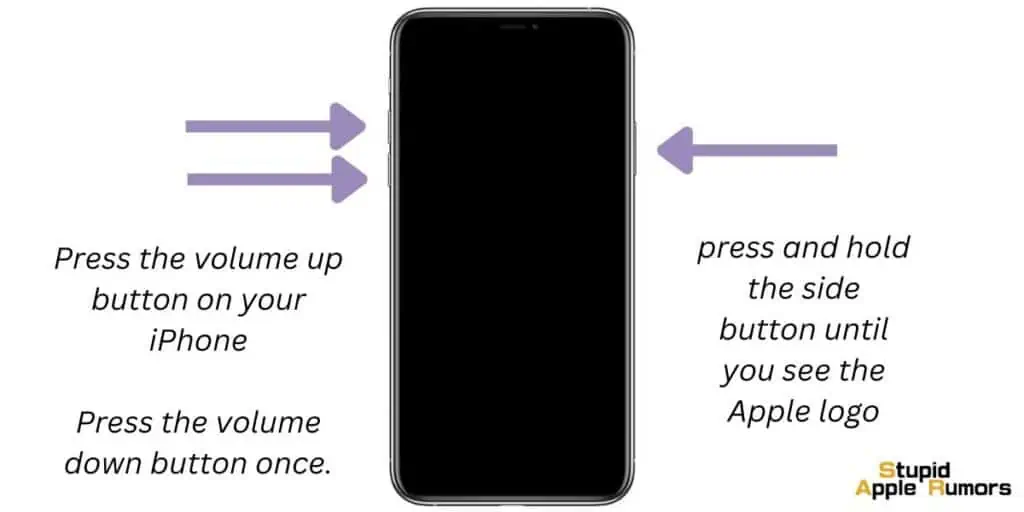
Step 1: Press the volume up button on your iPhone.
Step 2: Next, press the volume down button once.
Step 3: Now, press and hold the side button until you see the Apple logo on your iPhone’s screen. This indicates that your iPhone is restarting and transitioning back to normal mode.
For iPhones with a Home Button:
To exit DFU mode on iPhones with a Home button, you’ll need to restart the device. Follow these simple steps:
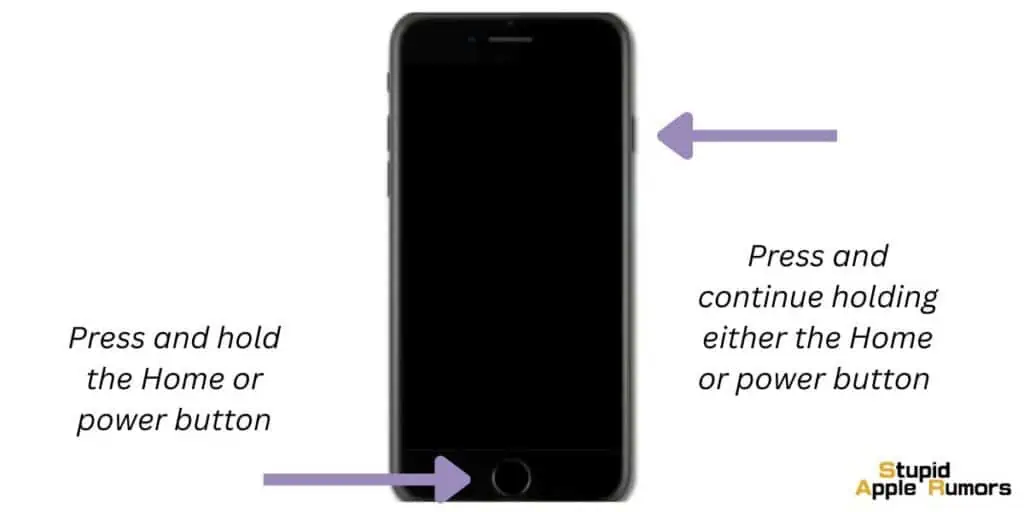
Step 1: Press and hold the Home or power button on your iPhone until the screen turns off.
Step 2: Once the screen is off, press and continue holding either the Home or power button again until your iPhone turns back on.
By following these steps, you can safely exit DFU mode on your iPhone, whether it has Face ID or a Home button. Remember to perform the necessary actions carefully to prevent any potential issues.
How to put iPhone into DFU Mode – Conclusion
So that’s all there is to know when it comes to the DFU mode on iPhone and how to put iPhone into DFU mode. It is straightforward but can take a few tries to get the timing right.
We have explained with steps for all iPhones, so make sure you follow the steps correctly.
Once you are in DFU mode you can make changes to your iPhone at the firmware level, but beware of the risks.
Also Read:

