Do you want to use Windows on your Mac? Learn how to install windows on your Mac using boot camp.
Did you know that you can use Windows on your Mac? Yes, you can and it unlocks so much more potential for you to use apps and programs that are not supported on macOS.
And the best part is, it is free to install and use Windows on your Mac.
If you are wondering how then you are at the right place. Check out How to Install Windows on a Mac using Boot Camp in this article.
Related: Spotlight Search Not Working on Mac, How to Fix it in 2023
How to Install Windows 11 on your Mac using Boot Camp
Table of Contents
Here are the steps on how to install Windows 11 on your Mac using Boot Camp:
- Make sure that your Mac meets the system requirements for Boot Camp. You can find the system requirements on Apple’s website or by scrolling down on this page.
- Download the Windows 11 ISO file from Microsoft’s website.
- Connect an external USB drive to your Mac. The USB drive must be at least 8 GB in size.
- Open Boot Camp Assistant, which is located in the Utilities folder of your Applications folder.
- Follow the on-screen instructions to create a Windows partition on your Mac’s hard drive.
- Boot Camp Assistant will use the external USB drive to create a bootable Windows installer.
- Insert the external USB drive into your Mac and restart it.
- When your Mac restarts, hold down the Option key until you see the Boot Camp Installer screen.
- Select the Windows installer from the list of drives and click Continue.
- Follow the on-screen instructions to install Windows on your Mac.
Also Check Out: How to Type using the Vision Pro Keyboard?
What is Boot Camp?
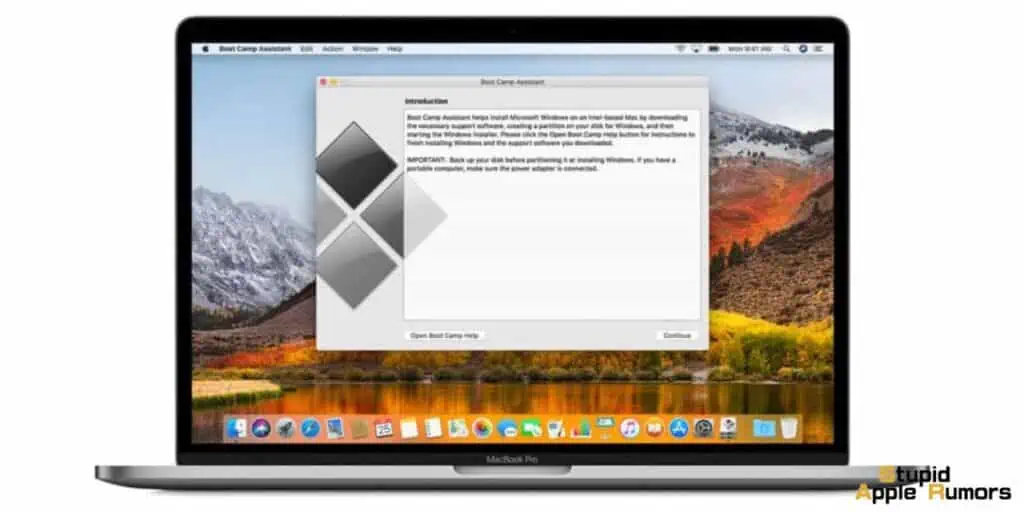
Boot Camp is a software feature of Intel-powered Macs, that lets you run Windows on your Mac. It works by allowing you to create a separate partition of your hard drive and run Windows from it. This method allocates all your system resources to windows making it one of the best ways to run Windows on a Mac.
The downside to Boot Camp is that it is only supported on select Macs running Intel processors, which means you won’t be able to use it on M1-powered Macs. And unlike Virtualisation, Boot Camp doesn’t let you use both macOS and Windows at the same time, so each time you have to restart your Mac to access the other OS.
But if you need to run Windows on your Mac and want to take full advantage of your hardware capabilities, then Boot Camp is the best option. Boot Camp is also great if you want to get some gaming done on your Mac using Windows.
So check How to Install Windows on your Mac using Boot Camp in this article.
What you need to Install Windows on your Mac
To install Windows on a Mac using Boot Camp, you’ll need a few things in place and they are,
A compatible Intel-powered Mac. Not all Macs let you install Windows or support Boot Camp like the new M1, M1 Pro, and M1 Max MacBooks and Mac Minis. Here’s a list of the compatible Macs that you can use to install Windows on them using Boot Camp:
- MacBook Pro (2012 and later)
- MacBook Air (2012 and later)
- MacBook (2015 and later)
- iMac Pro (2017)
- iMac (2012 and later)
- Mac mini (2012 and later)
- Mac mini Server (Late 2012)
- Mac Pro (Late 2013)
If you have a compatible Mac that can run Windows 10, then make sure you need at least 64 GB of free space on your hard drive to install Windows.
At least 64 GB is needed but Apple recommends 128 GB for an optimal experience. You can also set the Windows partition to any size you want during the installation process.
And lastly, you need to make sure your Mac OS is updated to the latest version so that you don’t run into any issues. Make sure you have a backup of your Mac so that if anything goes wrong (rare) you can restore it.
How to Install Windows 10 on your Mac using Boot Camp
Download Windows 10 ISO File on your Mac
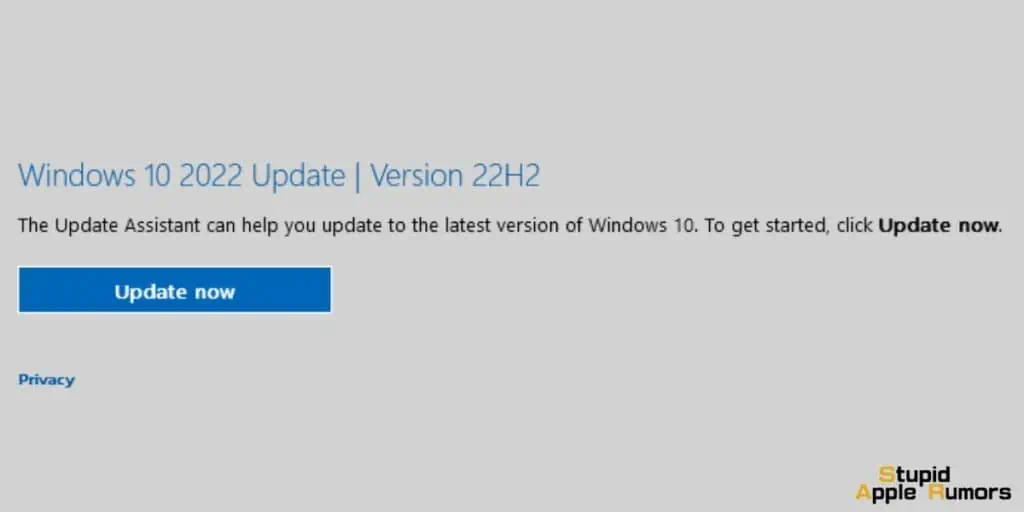
To install Windows on your Mac you will need a Windows ISO file. We will be using Windows 10 even though Windows 11 is out because Windows 10 is widely used and still supported by Microsoft.
You can upgrade to Windows 11 later down the line if you want to or you can directly install Windows 11 using the same steps.
Follow these steps to download the official Windows 10 ISO from Microsoft,
- Step 1 Go to the Microsoft Windows 10 download page here on your Mac.
- Step 2 Now, click on the dropdown menu under the Select edition section.
- Step 3 Under the Windows 10 Anniversary Update section, choose Windows 10.
- Step 4 Click on Confirm.
- Step 5 Click on the dropdown menu under Select the product language section.
- Step 6 Choose the language of your choice and select it. Then click on Confirm.
- Step 7 Click on 64-bit Download.
- Step 8 Click Save and the ISO will start downloading.
Once the download is complete, you are now ready to install Windows on your Mac using Boot Camp. Continue reading to know how to install Windows on your Mac using Boot Camp.
How to Install Windows 10 on your Mac using Boot Camp
Now that you have your Boot Camp compatible Mac with Windows 10 ISO downloaded on it, you can start the installation process. Follow the below steps to install Windows 10 on your Mac using Boot Camp,
- Step 1 On your Mac, launch the Boot Camp Assitant from the Utilities folder in Applications
- Step 2 Click Continue, Boot Camp will automatically locate the ISO file on your Mac.
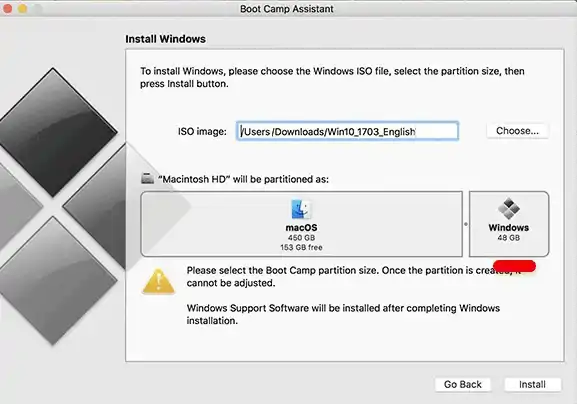
- Step 3 Now click and drag the slider in the partition section depending on how much space you think you need for Windows 10. By default, this option will be set to 48 GB, but it is recommended to provide Windows 10 with at least 128 GB for the best performance and experience.
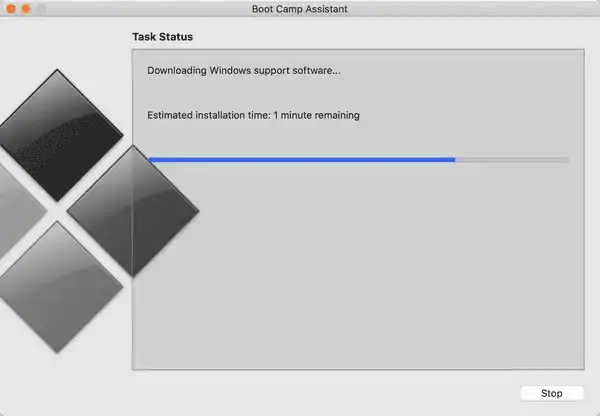
- Step 4 Click Install and the Windows support software will be downloaded now.
- Step 5 Enter your password to continue.
- Step 6 Click on OK. Your Mac will restart and it will load into the Windows 10 setup screen.
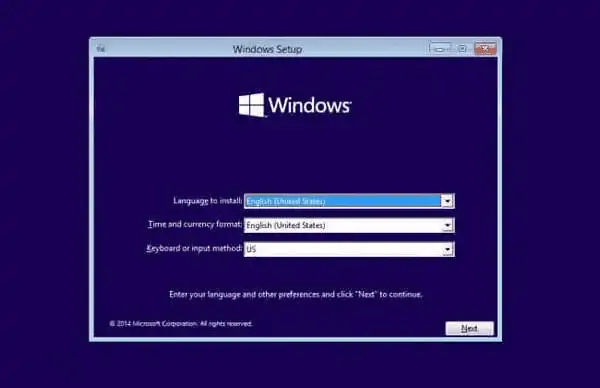
- Step 7 Select your preferred language.
- Step 8 Click on Install Now.
- Step 9 Enter your Product/Activation key, or select I don’t have a key. You can activate Windows 10 after installation too.
- Step 10 Choose from Windows 10 Home or Windows 10 Pro depending on your preference. Then click Next.
- Step 11 Now, click on Custom: Install Windows Only.
- Step 12 Click on Drive 0 Partition X: BOOTCAMP. Do not choose or change anything else.
- Step 13 Click Next and Windows 10 installation will start. Your Mac will restart multiple times during the process.
- Step 14 Click on Use Express Settings or Customize Your Installation when the Windows 10 setup screen is displayed. We recommend Express Settings as you can change everything later if needed.
- Step 15 Type a username and add a password if needed.
- Step 16 Click on Next and then choose if you want to use Cortana or not.
Now, your Mac will boot into Windows 10 and you can start using it.
Install Boot Camp software on your Windows 10 partition
When you are fully booted into Windows for the first time on your Mac, a Boot Camp software installer will automatically start.
You have to complete this installation as it is essential for the best Windows 10 experience on your Mac. To complete the installation, follow these steps,
- Step 1 Click on Install.
- Step 2 Click the I accept the terms in the license agreement.
- Step 3 Click on Install again for the installation to start.
- Step 4 Click on Finish when the installation is done.
Doing this installs all the required drivers and software to run Windows 10 smoothly on your Mac, so be sure not to skip it.
How to Switch between macOS and Windows
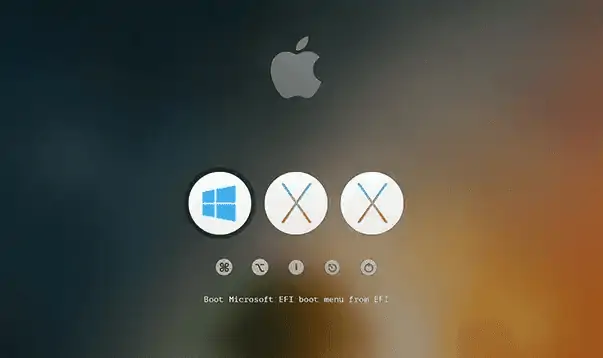
Boot Camp makes it extremely easy to switch between Windows 10 and your macOS. To switch to macOS from windows in Boot Camp, do this,
- Step 1 In Windows 10 taskbar, click on the Show Hidden Icon button.
- Step 2 In this menu, click on the Boot Camp button.
- Step 3 Click on the Restart in OS X option.
Your Mac will restart now and will load into MacOS.
You can also choose between the two OS when powering on your device. When your switch on or restart your Mac, hold down the Option key on your keyboard until a boot menu appears, you can choose which OS to load from here.
Update Windows 10 on your Mac
Updating Windows 10 lets you take full advantage of its capabilities and keep your Mac from security flaws too. To update windows 10, do the following,
- Step 1 Click the Start button in Windows 10.
- Step 2 Click on the Settings button, looks like a gear.
- Step 3 Choose Update & Security from the menu.
- Step 4 Click Check for Updates.
Your device will start checking for any available updates and will download them. Once the download is done, it will start installing them automatically. You don’t have to keep the settings window open, you can close it and carry on with your work.
For all the changes to take place, you need to restart your Mac and boot into Windows 10 again.
How to Uninstall Windows from Your Mac Using Boot Camp?
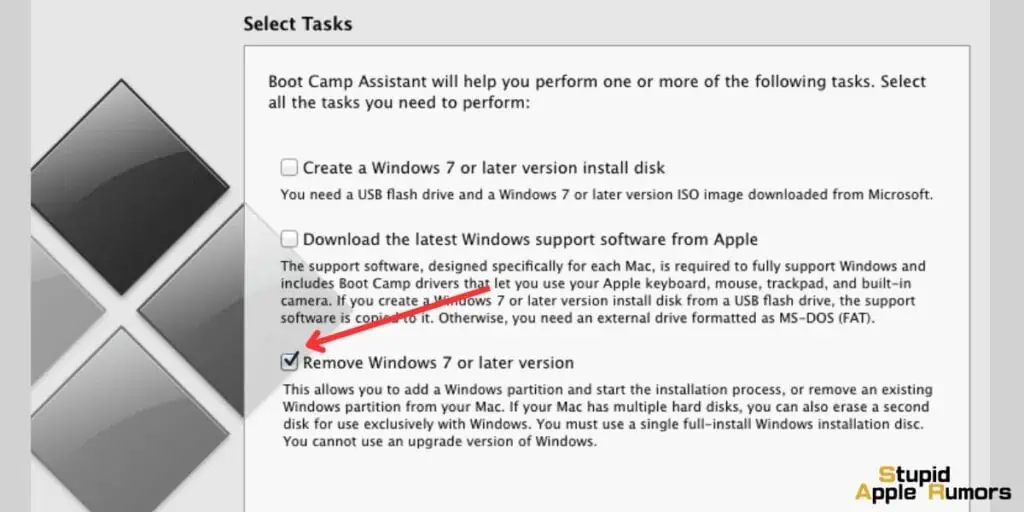
If you’ve utilized Boot Camp Assistant for installing Windows on your Intel-based Mac, you’re in luck; removing Windows is fairly straightforward.
Here’s a step-by-step guide that shows you how to safely and efficiently accomplish this.
Prerequisites
- Boot into macOS: Make sure your Mac is running macOS and not Windows.
- Backup Important Data: Before proceeding, back up all crucial files stored on your Windows partition. Once you remove Windows, all data stored in the Windows partition will be permanently deleted.
- Close All Applications: Ensure that all open applications are closed, and log out any other users currently logged in on your Mac.
Warning: Deletion of the Windows partition will result in irreversible loss of all data stored on that partition.
Steps to Remove Windows from Your Mac
Step 1: Open Boot Camp Assistant
- Navigate to your
Applicationsfolder, thenUtilities, and open Boot Camp Assistant. Click on the “Continue” button to proceed.
Step 2: Choose Task for Boot Camp
- If a step titled “Select Tasks” appears on your screen, you will see an option that says “Remove Windows 10 or later version.” Select this option and then click the “Continue” button.
Step 3: Restoring Disk Partition
Here, you’ll encounter one of two scenarios:
- Single Internal Disk: If your Mac has just a single internal disk, you will see a “Restore” button. Click on it to start the process.
- Multiple Internal Disks: If your Mac has more than one internal disk, you will be prompted to select the disk where Windows is installed. After selecting the Windows disk, choose the option that says “Restore disk to a single macOS partition,” and then click “Continue.”
Your Mac will then begin the process of removing the Windows partition and restoring the disk space back to a single macOS partition.
By following these steps carefully, you can ensure a hassle-free removal of Windows from your Intel-based Mac.
The restored disk space will then be available for macOS, allowing you to continue enjoying an exclusive Mac environment.
Alternatives to Boot Camp?
There are two other ways using which you can use to run Windows 10 on your Mac. One is Virtualisation and the other is Windows 365.
Virtualization is a method that lets you run Windows on your Mac using software like VMware Fusion or Parallels Desktop.
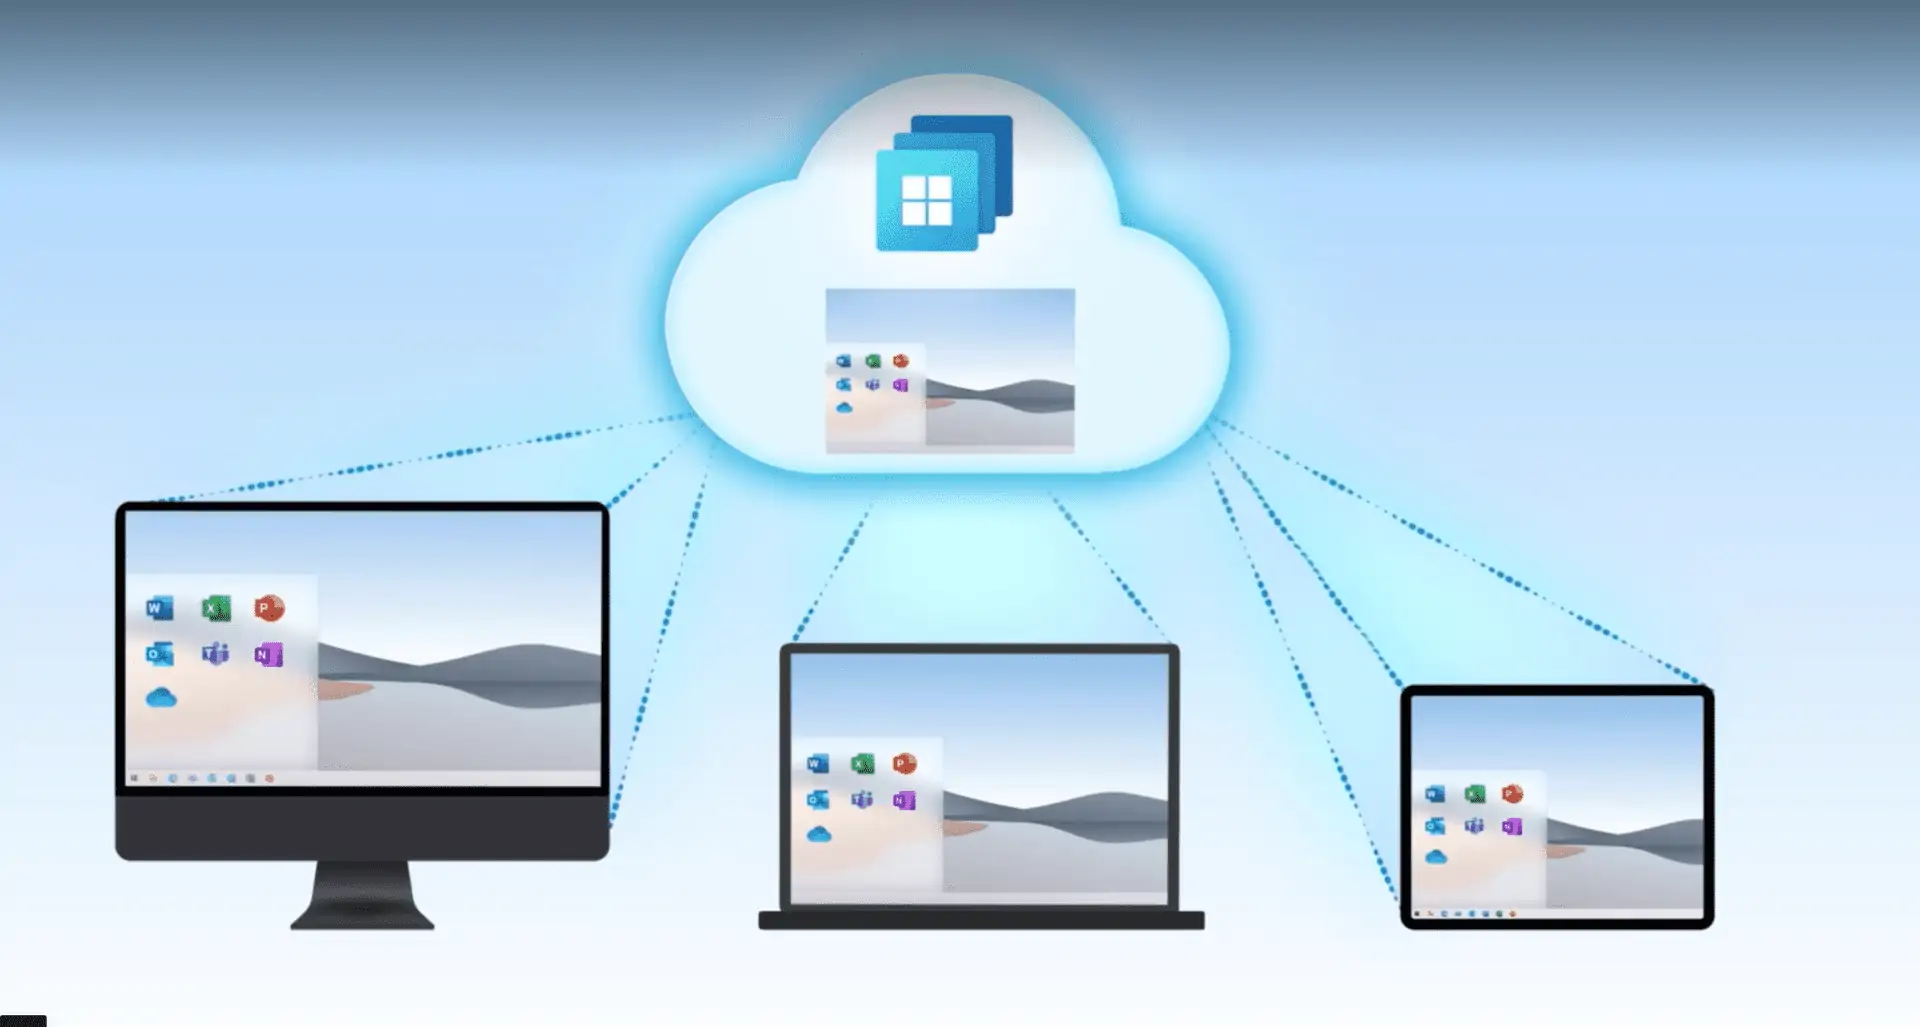
On the other hand, Windows 365 is a new service from Microsoft that lets anyone access a cloud-based Windows PC.
You can use this service on Macs and even iPads and iPhones. So if you have a new M1-powered Mac or just don’t want to use Boot Camp then you can use Virtualisation or Windows 365 to run Windows on your Mac.
What to do if Boot Camp is Not Working on Mac – Troubleshooting Tips
Here are some things you can do if Boot Camp is not working on your Mac:
Make sure that your Mac meets the system requirements for Boot Camp. You can find the system requirements on Apple’s website.
Try restarting your Mac. Sometimes a simple restart can fix problems with Boot Camp.
Update your Mac’s software. Make sure that your Mac is running the latest version of macOS and Boot Camp Assistant. You can check for updates by opening System Preferences, clicking on Software Update, and then clicking on the Check Now button.
Create a new Windows partition. If the Windows partition on your Mac is corrupt, you can create a new one. To do this, open Boot Camp Assistant and follow the on-screen instructions.
Use a different USB drive. If you are using a USB drive to create a bootable Windows installer, try using a different USB drive.
Contact Apple Support. If you have tried all of the above and Boot Camp is still not working, you can contact Apple Support for help.
How to Install Windows on your Mac using Boot Camp – Conclusion
Now, you can use Windows on your Mac, and take advantage of its high-end hardware to run Windows applications, games, and more.
Using Boot Camp is only limited to Intel-powered Macs so not everyone can take advantage of this awesome feature. But if you can, I would recommend you try it as it is simple and costs nothing.
How to Install Windows on your Mac using Boot Camp – FAQs
How to download Windows 10 on Mac without Boot Camp?
If you don’t want to use Boot Camp, then you can install Windows on your Mac using Virtual Machines(VMs) like Parallels or VMware Fusion. Read our guide on How to Install Windows on your Mac using Boot Camp for more info.
How to download Boot Camp on M1 Mac?
You can’t use Boot Camp to install Windows on M1 Macs. However, you can use Virtual machine software like Parallels to install Windows on your M1 Mac. Learn How to Install Windows on a Mac using Boot Camp using our guide.
Is Windows free for Mac with Boot Camp?
Yes, Boot Camp is a built-in free software for Mac. you can use Boot Camp to install Windows for free on your Mac. Read our guide on How to Install Windows on your Mac using Boot Camp for more info.
Also Read:

